Installing a Microwave Trim Kit
A microwave trim kit is used with a regular free standing microwave,
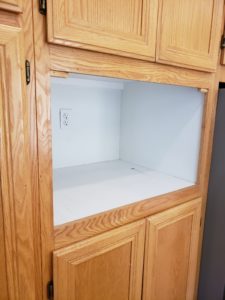
This is a common application in certain track homes built in the 80’s, all the houses came with regular free standing microwaves installed into a “cubby”, (for lack of a better term)…..with a trim kit,
In a recent application the kit lacked side bumpers to keep the microwave from tilting,
So,
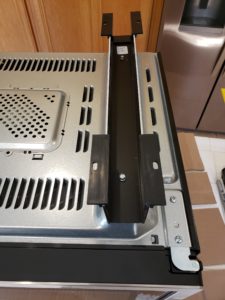
We needed to improvise…..We attatched the risers, from the trim kit, directly to the bottom of the microwave, using sheet metal screws, drilling some pilot holes first,
When we placed the Microwave into the “cubby” with now attathed risers, we marked the feet with a Sharpie, pulled the Microwave back out removed the feet and then secured the feet on your Sharpie marked Template,
What I found useful about the feet, was the groove on the top that allowed me to adjust the depth, in out, to find the perfect setting,
*Note
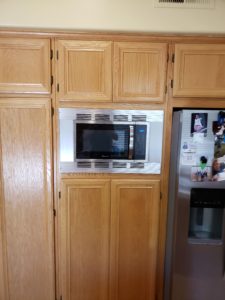
When finding the right depth make sure the Microwave will sick out past the trim kit enough for the microwave door to open,
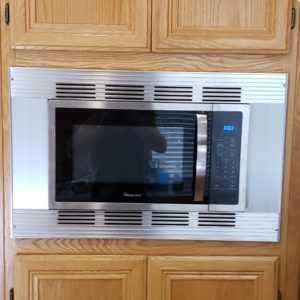
The trim kit comes in four pieces, top and bottom vent pieces, and two solid sides, ours was stainless steel, what I found extremely useful, was to Duct Tape, the four piece’s, lining up the screw holes of the perpendicular pieces for easier mounting,
Everything lined up perfectly, we secured the trim kit, and, Presto!, it looked awesome!