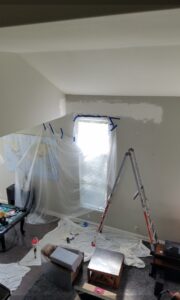
Drywall Repair After Car Charger Install
Recently, a client of mine had a car charger installed for their new Tesla,
In order to complete the install, there were many areas where the drywall had been cut away to facilitate the car charger wire install,
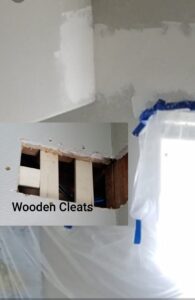
In my case, the inside walls had plywood installed underneath the drywall, both the drywall and plywood needed to be cut to acess for wire install,
This made the job a little more complex in that before the dryall could be repaired, the plywood needed to be installed underneath. and before the plywood could be installed, wood cleats needed to be added,
To make the job a little easier, I was able to use the same pieces that were originally cut out, the pieces were not cut straight and “puzzleing” them in, seemed like a better option, and alot less drywall dust,
After the cleats, plywood and drywall were added, it was time to tape and apply joint compound,
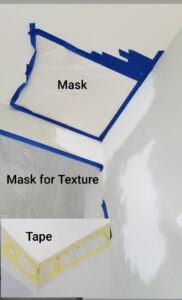
Because there were alot of seams that needed taping, I decided to use the adhesive yellow tape, although in most cases I prefer paper tape,
Having various size taping knives can be helpful, and as your skill level increases, you’ll be able to cover the tape on the 1st application (I used a 14″ taping
After the compound is dried, it was time to sand for uniformity, if you need to add more compound, thats ok,
When sanding compound, wear a mask and cover everything, the compound dust will travel quite a distance,
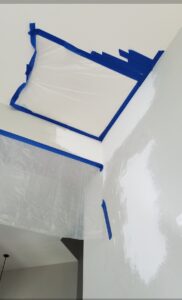
Now it’s time to add a little texture in a can, this stuff is really messy, make sure everything is masked off,
It’s really important to practice on a piece of cardboard or dryall to get the right texture and follow the directions on the can,
Wait about an hour for the textue to dry and then paint,
Drywall repair involves many steps with drytimes in-between, be patient and have fun!
Gojoehandyman.com…..Inspiring People
