Re-Installing a Shower Door, tricky?
Can be….
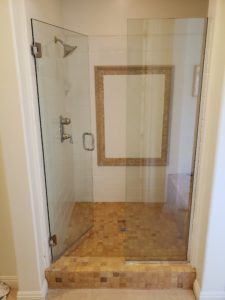
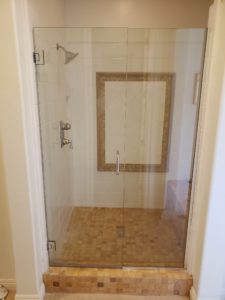
I recently re-installed a shower door for a client who had to re-tile her shower, due to a leak, due to a missing membrane in the shower floor, when initially installed,
I say all that because….
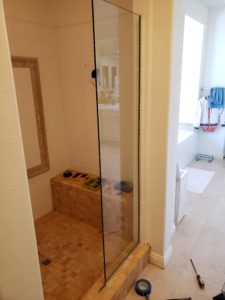
When the new tile was re-insalled the basewall under the shower door became slightly raised and the new height needed consideration,
So,
When re-intalling a shower door please be aware of any alterations that took place since the shower door was removed.
In my case, I could not use the previously made holes drilled into the tile, for the hinge side of the operating panel, because the basewall was slightly raised.
So, drilling into tile,
There are many articles written, and many videos recorded on the subject and I think there are some misconceptions
There’s and outer glaze on the outside of the tile that needs to be shattered before drilling, in most cases, this can be achieved with a hammer and a Center Punch “please see photo below”, once the outer glaze is removed with the Center Punch a masonry or Carbide tip drill bit can be used to drill your new holes.
When it comes to lining up the hinges, it’s easiest to remove the top hinge from the shower door and mark the holes with a black Sharpie, (leave the bottom hinge on the door)
Now,
Take your Center Punch, break apart the outer glaze, drill your holes and place your plastic anchors in your new holes,
Hanging and lining up the hinges,
Hang the door to the top installed hinge in oder to mark the bottom door hinge, that’s still connected to the door, this is much easier than solely relying on measuring and assures a proper placement, take a few measurements from the outer wall to help insure the door is hanging at a perfect 45 degree,
Part two,
If there’s a stationary panel, install this after the operable panel is installed, this will give you a little wiggle room in terms of lining the panels up in the center
Installing the non operable panel,
Screw the track onto the basewall and the wall, make sure everything lines up with the operable panel, you may even need to put one screw in the bottom and side track, place the glass in the track, to see if everything lines up properly, if not make the neccessary adjustments,
After everything lines up,
Silocone the track of your non operable panel with 100% Silacone, use your finger to press it into the space, just squirt it in with your caulk gun and run your finger along the crack to smooth it out and press it into the space. (have some paper towels around to wipe the exceas Silacone off your finger or anywhere the Silicone gets where it’s not suppose to be)
Wait 24-48 hrs and your good to go!


