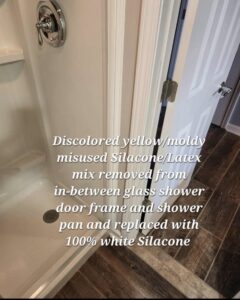
Old yellow moldy Silacone/Latex removed and replaced with 100% Silacone
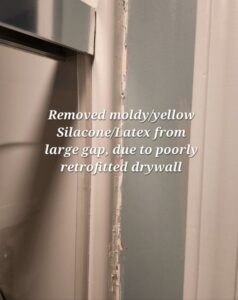
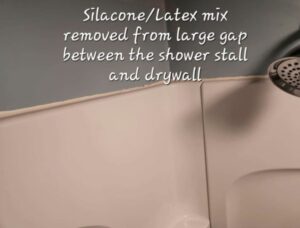
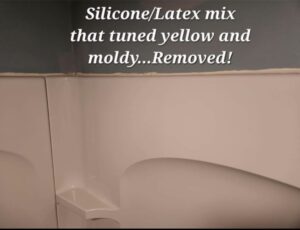
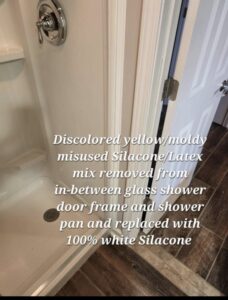
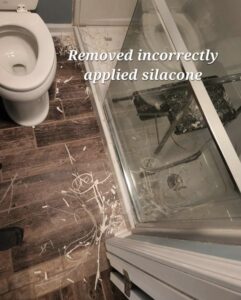
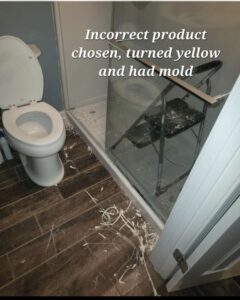
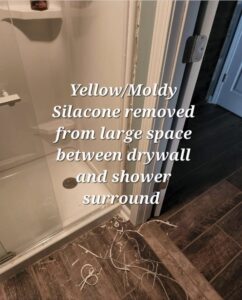
I recently removed some poorly applied mixture of Silacone/Latex that was yellow and moldy from a shower surround,
Incidentally, in order to properly apply 100% Silacone from around a sink, shower (in my case), bath, contertop and backsplash,, one must be be meticulous about the removal of the old discolored, moldy, silacone, in some cases, miss- applied grout… Fiist….BEFORE new Silacone can be applied,
Make sure you have an abundant supply of razors for you utility knife, get a utility knife with an easy blade switch out feature, also, have a scraper razor, (with extra blades), and whatever other tools one can think of to assist in the removal, e.g., chisels, small screwdrivers, etc.,
After all the material, whatever it is, is removed, apply new, 100% Silacone, by the way, there is a Silacone/Latex mix, that’s designed for trim, baseboard molding and crown molding that work’s well in that application, due to expansion and contraction, that’s “paintable”
this is NOT for wet areas,
When applieing Silacone, cut the tube end on a 45° angle, rest the higher side of the angle in the space, and angle the caulk gun and gently squeeze the handle wile slowly moving the gun to create nice straight bead, then take your index finger, place it in the space and slide it down or across the newly applied Silacone, creating that perfect line, one could also purchase some plastic tools to remove the excess silacone, have some Chlorox wipes to remove any excess Silacone that your index finger or tools fails to remove,
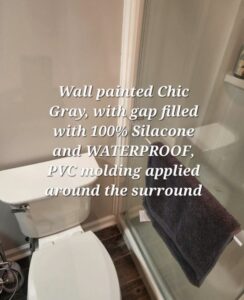
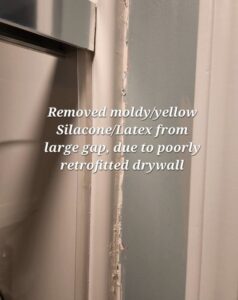
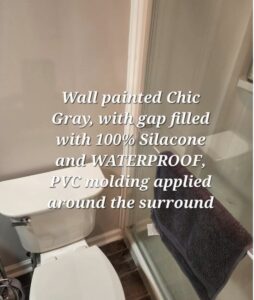
As in my case, there was a large space where the drywall was poorly cut, where it butted up to the surround, Silacone or the mixture when it comes to molding or trim, is not meant to fill large spaces, as the final step, as it was in my situation,
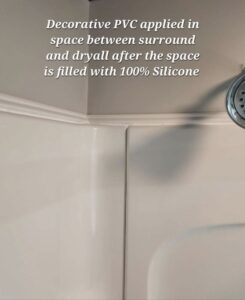
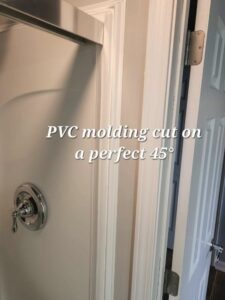
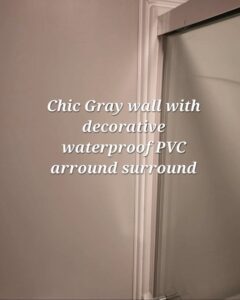
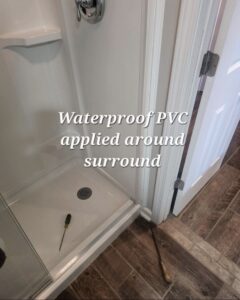
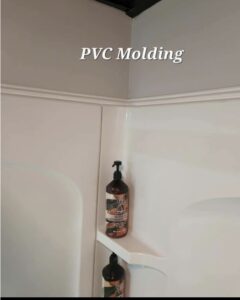
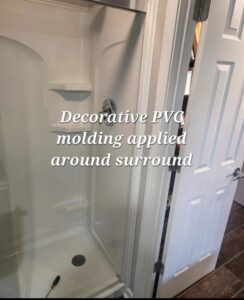
I sill filled the space with Silacone, being it was a wet area, but then covered it with a beautiful, PVC molding, (PVC is Poly Viny chloride, a water proof material that work’s great in wet areas)
When applying the PVC molding, the Silacone worked well as the adherent to hold the molding, no nail gun was needed,
The angles were different depending on where the molding was being applied, in other words, there were opposing 45° needed due to the angle, that needed to be cut with your chop saw, take your time in determining the the right angle, PVC molding is a little pricey, so mistakes can be a little costly,
If painting is involved, as in my case, it should be done after the old ugly moldy discolored silacone is removed, but before the molding or silacone only (assuming there’s not a large space between the area that’s being filled), we don’t want to Silacone 1st and then paint after, trying to paint next to Silacone is futile,
When the project is complete, it will feel so much nicer when not having to be grossed out by the yucky, nasty, moldy old Silacone!
GoJoeHandyman.com